Image Processing
The Image web page is your primary user interface to work with individual images. Through this page, you can test object descriptions with your own images to find descriptions that generate high confidence detections.
Using the Online Demo
The Image Demo is available on our website here.
For details about using the Image Demo, scroll down to Using the Image Process Page.
Using the Downloaded Software
You can also open the Image Processing page from our downloaded software. To do this, you first need to download and run EyesOnIt. Your Docker to run EyesOnIt command should start like this:
docker run -d -p 8000:8000 ...
This docker command opens port 8000 as a web server to support the EyesOnIt Web User Interface and the EyesOnIt REST API. If you started EyesOnIt on your local computer using port 8000, click below to open the link in your browser:
http://localhost:8000/dashboard
If you started EyesOnIt on a different computer that is accessible from your current computer, you'll need to replace localhost with the IP address or hostname of the computer where EyesOnIt is running. Please be aware of firewall issues. Port 8000 (or whatever port you specified in your Docker run command) will need to be open for inbound requests on the computer where EyesOnIt is running.
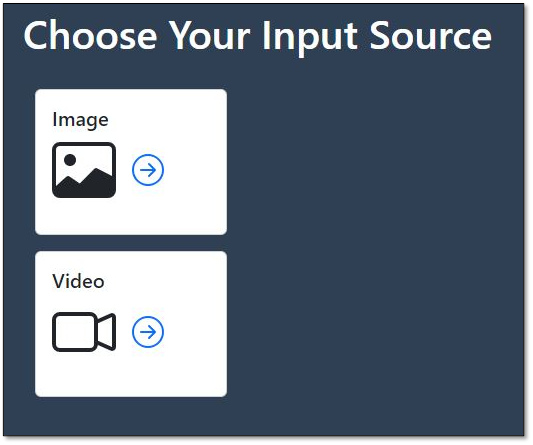
When you successfully reach the EyesOnIt home page, you will see this:

After you click the Image button, you'll see the Image Processing page.
Using the Image Processing Page
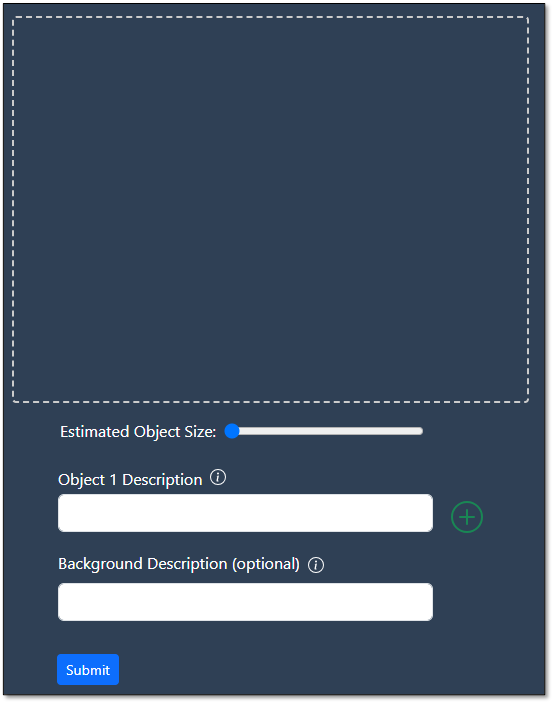
Whether you're using the online demo or the downloaded software, the Image Processing page looks and acts the same. When you first load the page, it will look like this:

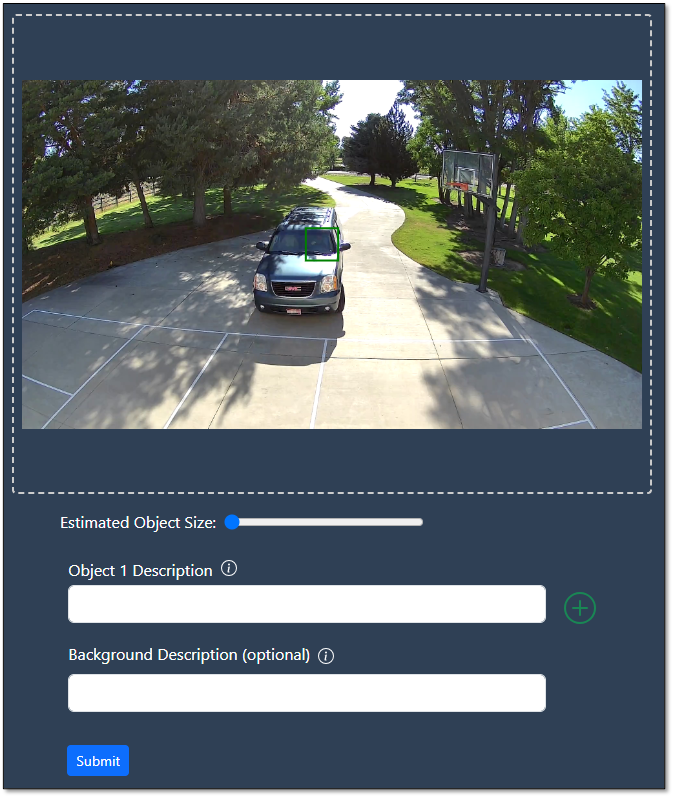
You can add an image to the Image Processing page by clicking anywhere within the dotted rectangle. Doing so will bring up a standard file selection window that will allow you to choose your image. You can also drag your image from a Windows Explorer window into the dotted rectangle. Once you have your image loaded, you should see something like this:

To use the EyesOnIt Image Process page, you need to add a detection region, set the object size, and add object descriptions.
For information about adding object detection regions and setting the object size, click here.
For information about adding object descriptions, click here.
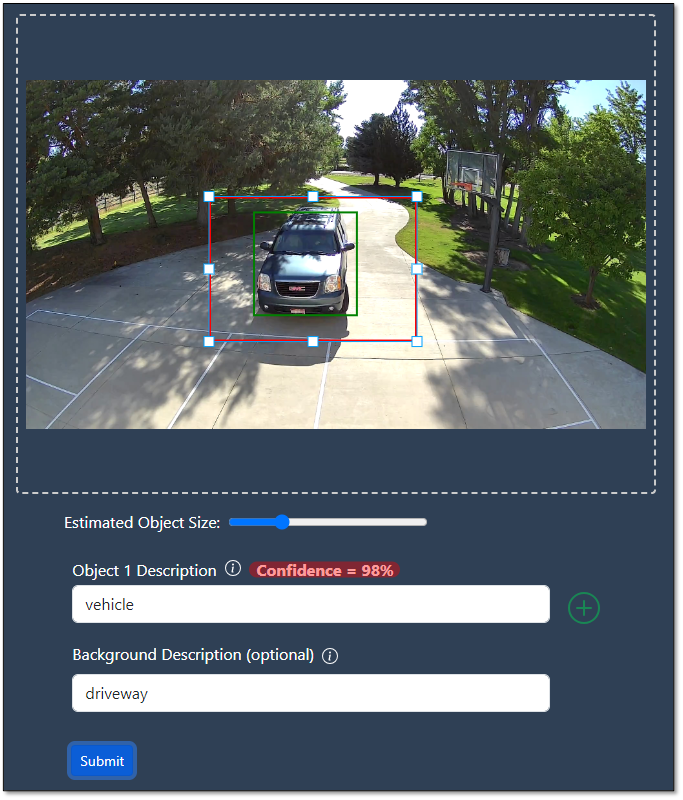
Once you have these inputs set, click Submit. EyesOnIt will respond with the confidence level for your object description(s). That will look something like the image below.

Be sure to refer to the pages about regions, object size and object descriptions and experiment with these settings to get good results. These settings are fundamental to getting accurate detection. If you find that you don't get the results that you are hoping for, please contact us at support@eyesonit.us. We're happy to help to make sure you are successful with EyesOnIt.